I am putting together curriculum designed by topic for my kids. My post about the principles of how to present these lessons is here. The principles are:
- Always present opposites, and a continuum if possible
- Get the child involved in a hands-on way
- Give a full and wordless demonstration to start
- Let the child sleep overnight after a lesson before doing any assessment or asking for application of the knowledge
This curriculum is on fluids. Each lesson below is intended to be presented one per day.
Come see me do these real time at The Observant Mom on facebook.
Solid versus Fluids
The first lesson I did was to reinforce a solid versus a fluid. Liquids or gases can be fluids. I asked my son to cut butter. Then I asked him to cut water in a bowl and then the air. The stuff he could not cut were fluids.
Viscosity vs Fluidity
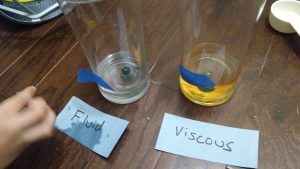
I did a “race” between water and olive oil with my almost 5 year old son. This was a big hit! I of course let him be water. We also did honey versus water. It was similar to this:
For opposites, water is fluid and honey is viscous. “Fluidity” is not commonly used however.
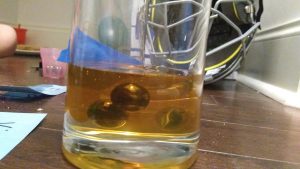
We also dropped objects into the liquids to see which traveled slow or fast. A marble in honey was a lot of fun:
Immiscible vs Mixable
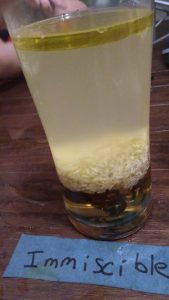
You can’t have several liquids around a child and not expect them to dump one in the other. BUT, it’s super fun. 🙂 We dumped honey, olive oil, water, and, for fun, rice, into a cup to see what happens. (After a while the rice suspends in the honey.)
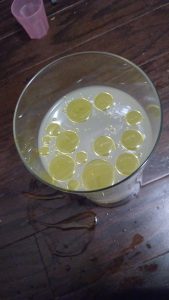
To present an opposite, I also mixed vinegar with water.
It’s fun sometimes to see the shapes made:
Visualizing Gases
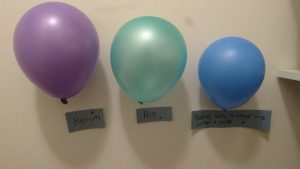
Air around us invisible. I told my son we can’t see it, but we can trap it. Holy moly was this fun. I filled one balloon up with helium, another with my own breath, and another with the resultant product of mixing baking soda with vinegar (carbon dioxide). I taped them to the wall and then let them go. The helium balloon rises. The carbon dioxide balloon sinks to the floor quickly.
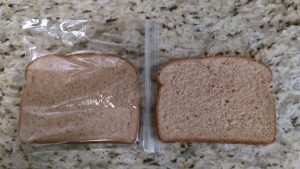
Also to better “see” air, or to at least understand its effects, I did an experiment where we put one piece of bread in a bag overnight and another left out, exposed. We felt them in the morning. This was great also to learn why we put certain foods in bags after we are done.
Applying Our New Knowledge
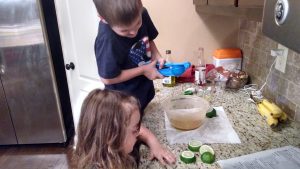
After teaching the definitions and presenting the lessons, I like to do a hand-on activity to explore the ideas. The best one I did for his is one my son begged to do: He wanted to help me prepare food when I was making a vinaigrette one night. He took notice of if the oil mixed with the vinegar. He dumped salt in and noticed it dissolved.
All of this work on gases lends itself pretty easily to the next curriculum we did: On Pressure. Stay tuned ….
Follow me on Facebook.

