I had read an idea in Help Your Preschooler Build a Better Brain to make dinosaur fossils using dinosaur figurines and Play Doh. I had the thought: Why not use salt dough? You can then bake the fossils and do fun things with them. This turned out to be an enormously fun activity!
When I told my son we were going to do this, he was instantly excited. He told me, “We are going to be like work men who dig for fossils!”
The recipe I used for salt dough was roughly:
- 1 cup salt
- 2 cups flour
- ~3/4 cup lukewarm water
I used a Kitchen Aid mixer to blend everything. I put the salt and flour in and added the water gradually, until everything just swirled in the mixer instead of blending. My 4 year old helped me with everything, including leveling off the salt and flour in the one cup dry measuring cup.
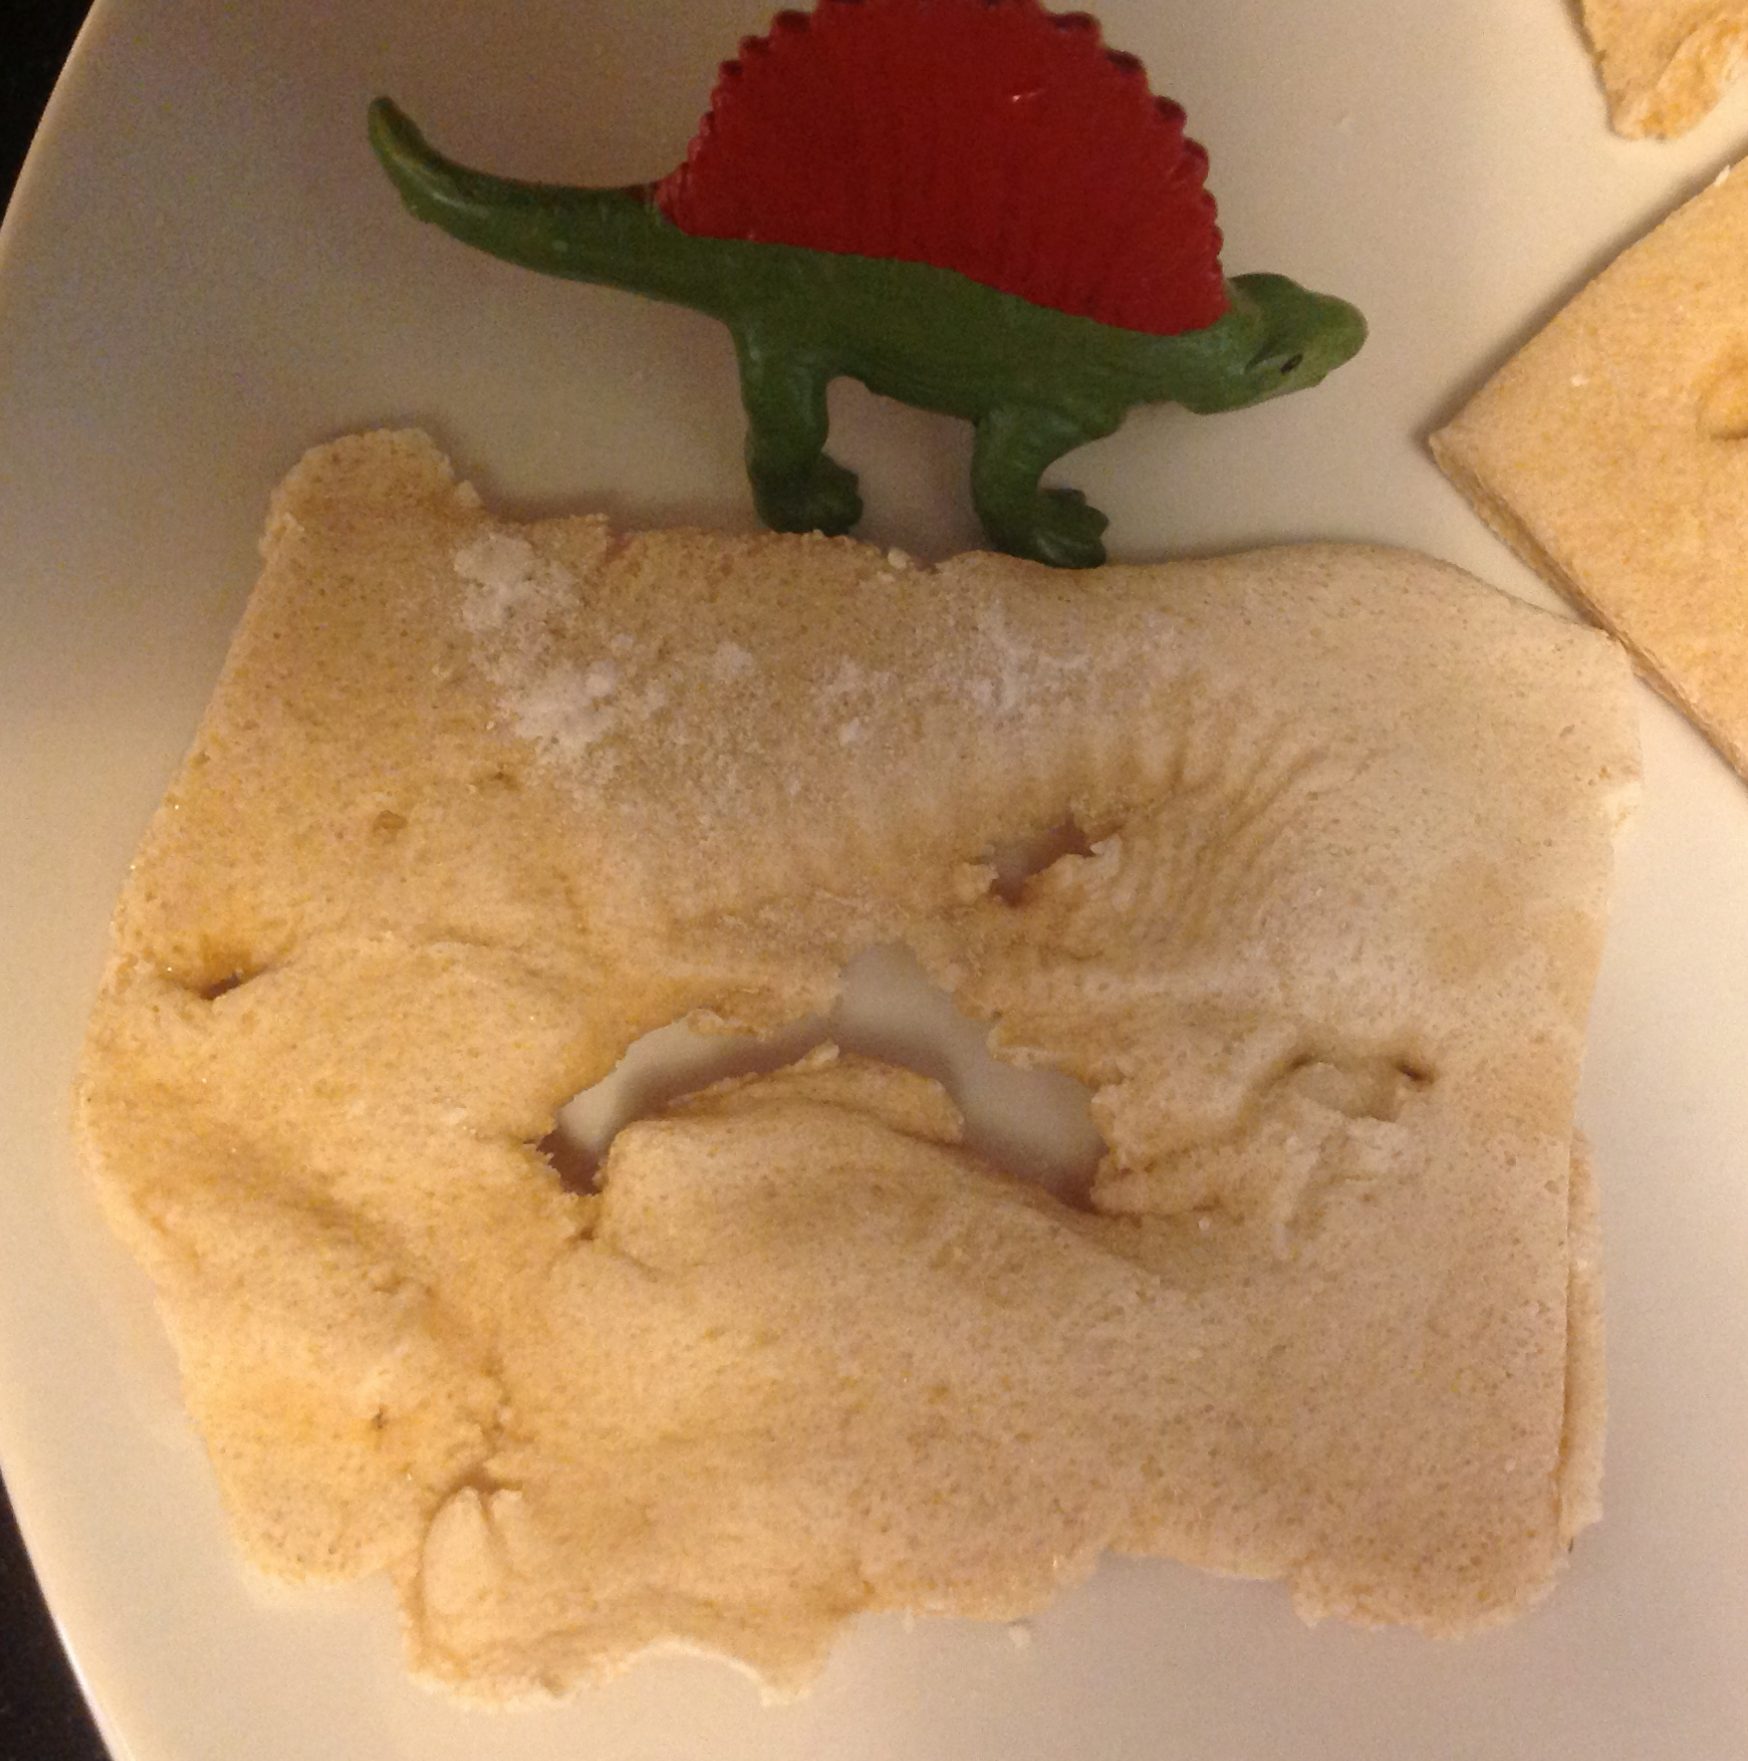
Then, the fun began. We took the dough out and rolled it out, using Play Doh tools we had. I found the dough was sticky so I added flour to it, so it didn’t stick to the table or dinosaurs. I found rolling the dough thicker instead of thinner was better. Then you can smash the dinosaur down in without tearing the dough. This was an example of a successful fossil:

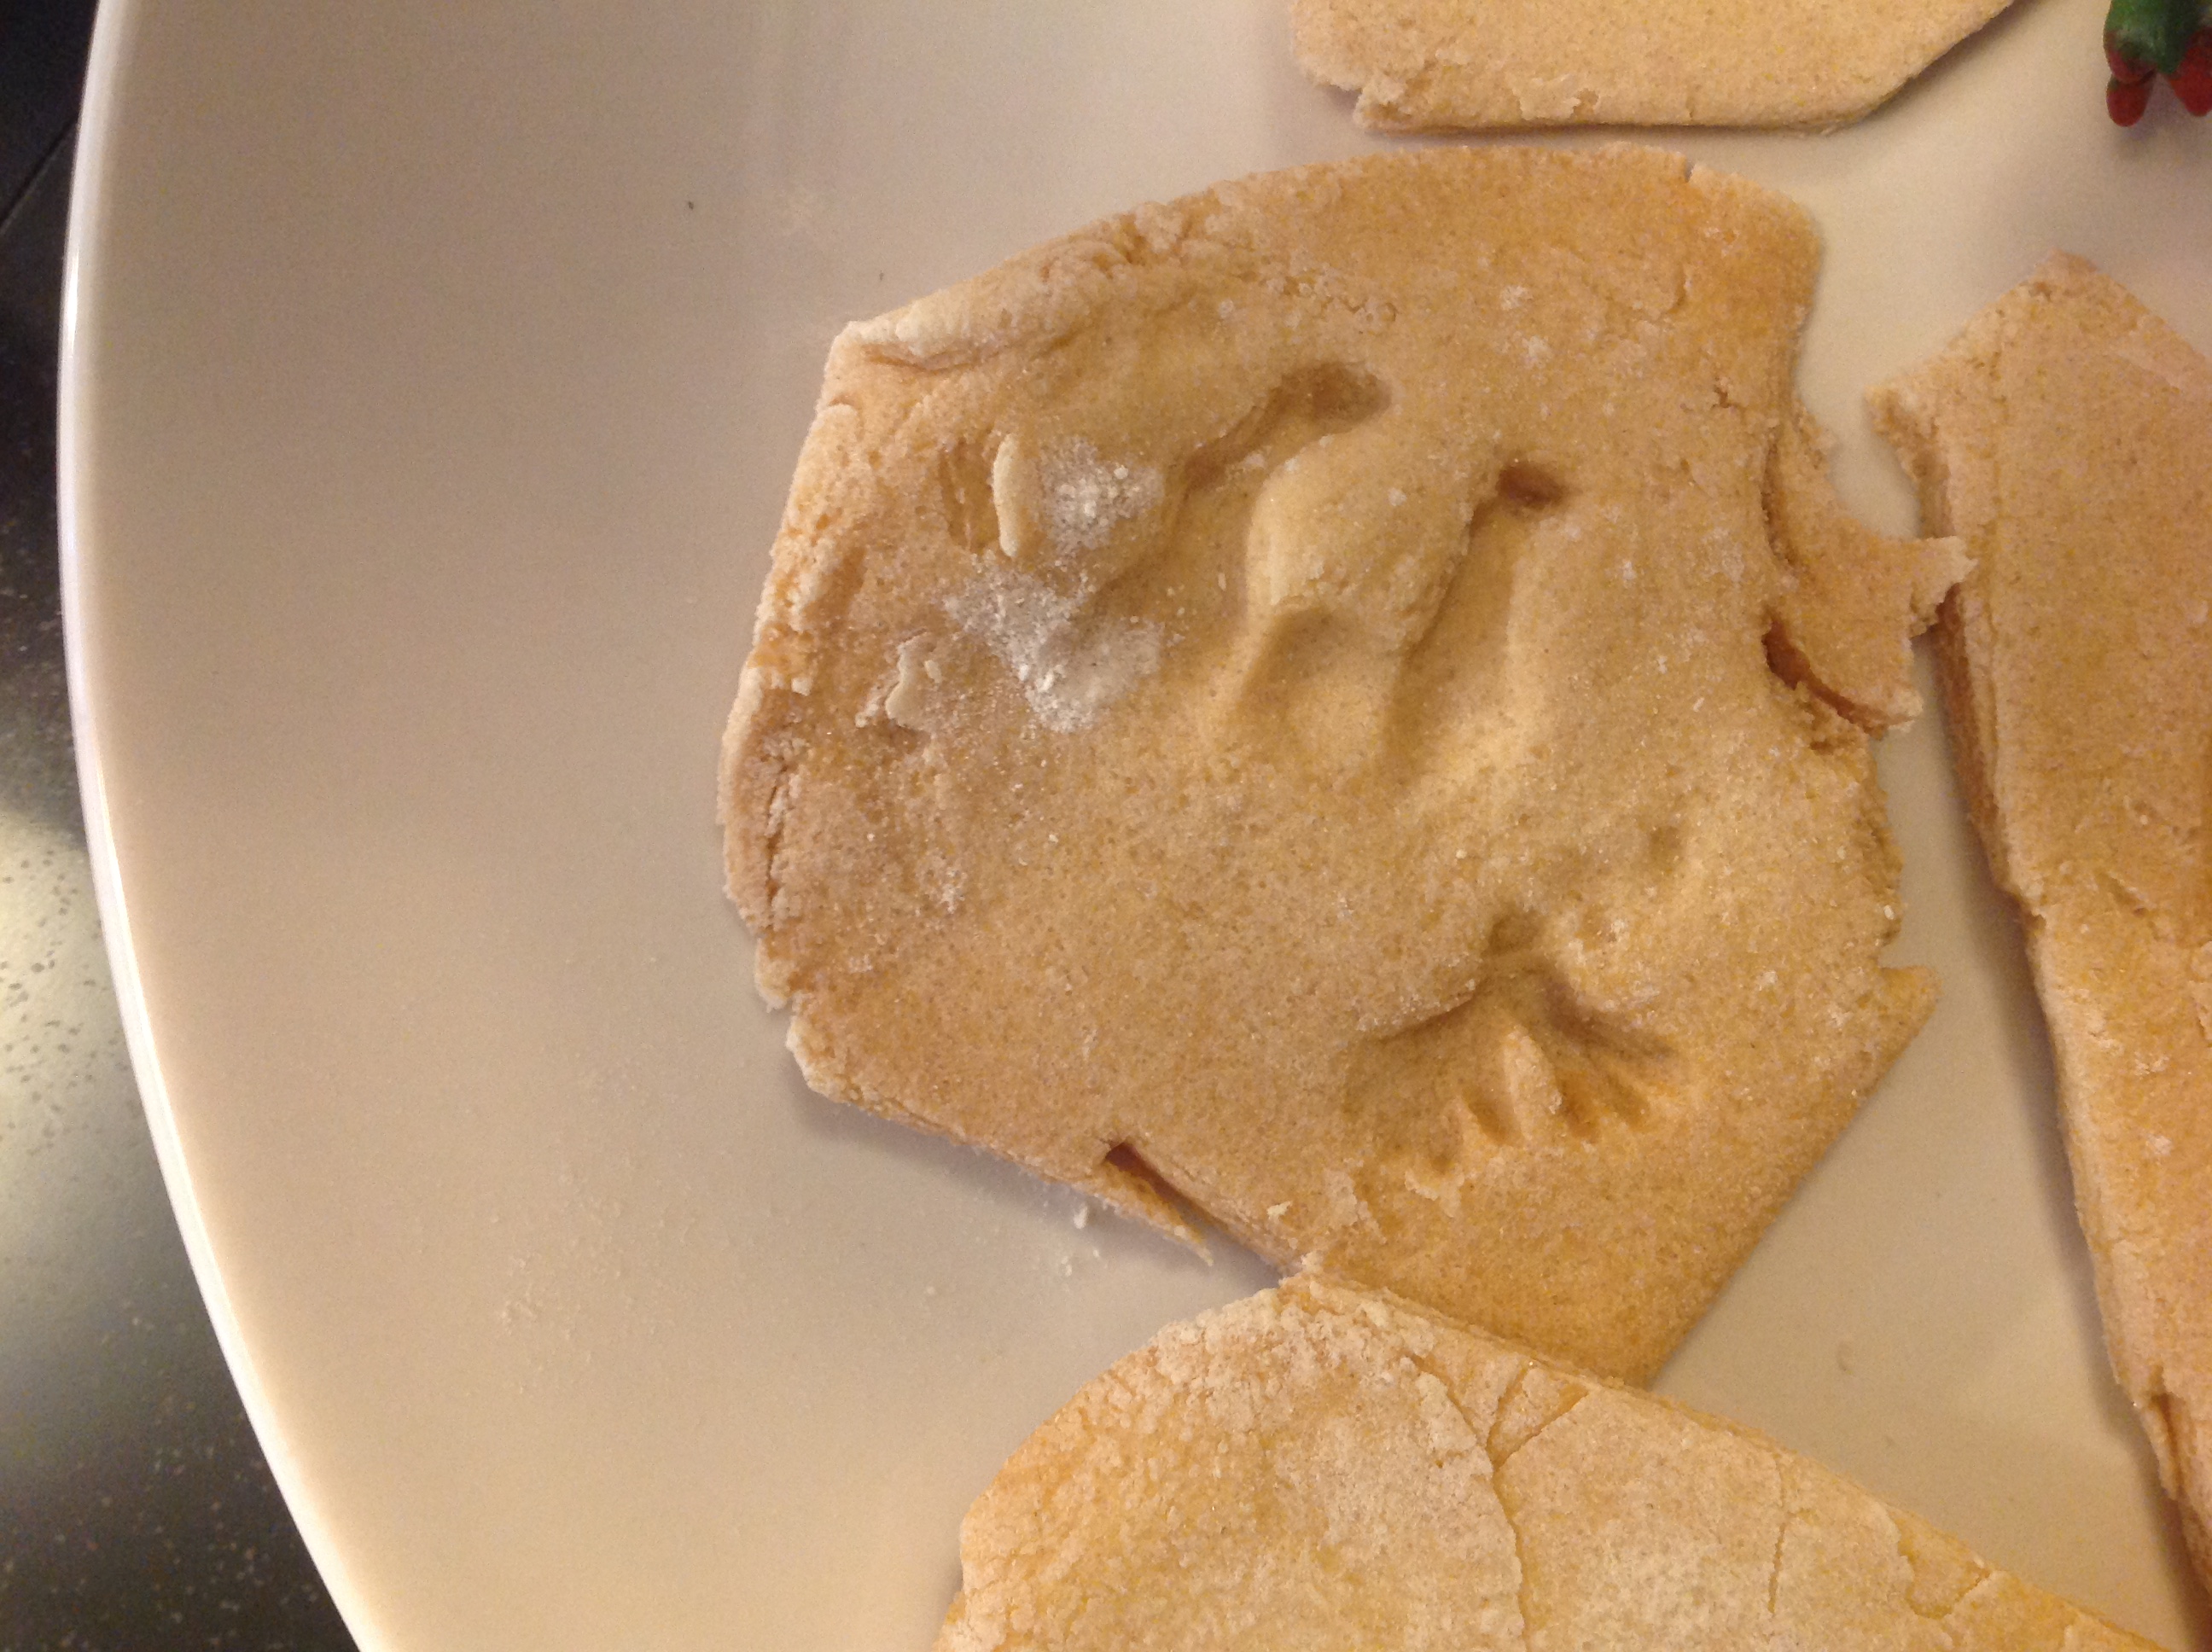
One of the great things about this project is that the fossils absolutely don’t have to be perfect. After all, when scientists found fossils, they weren’t always perfectly formed. This is true process art. Here is a half formed fossil that we made, with just a bit of a clue as to what the dinosaur looked like. This provided for a nice lesson for my preschooler about piecing together clues when it was done:
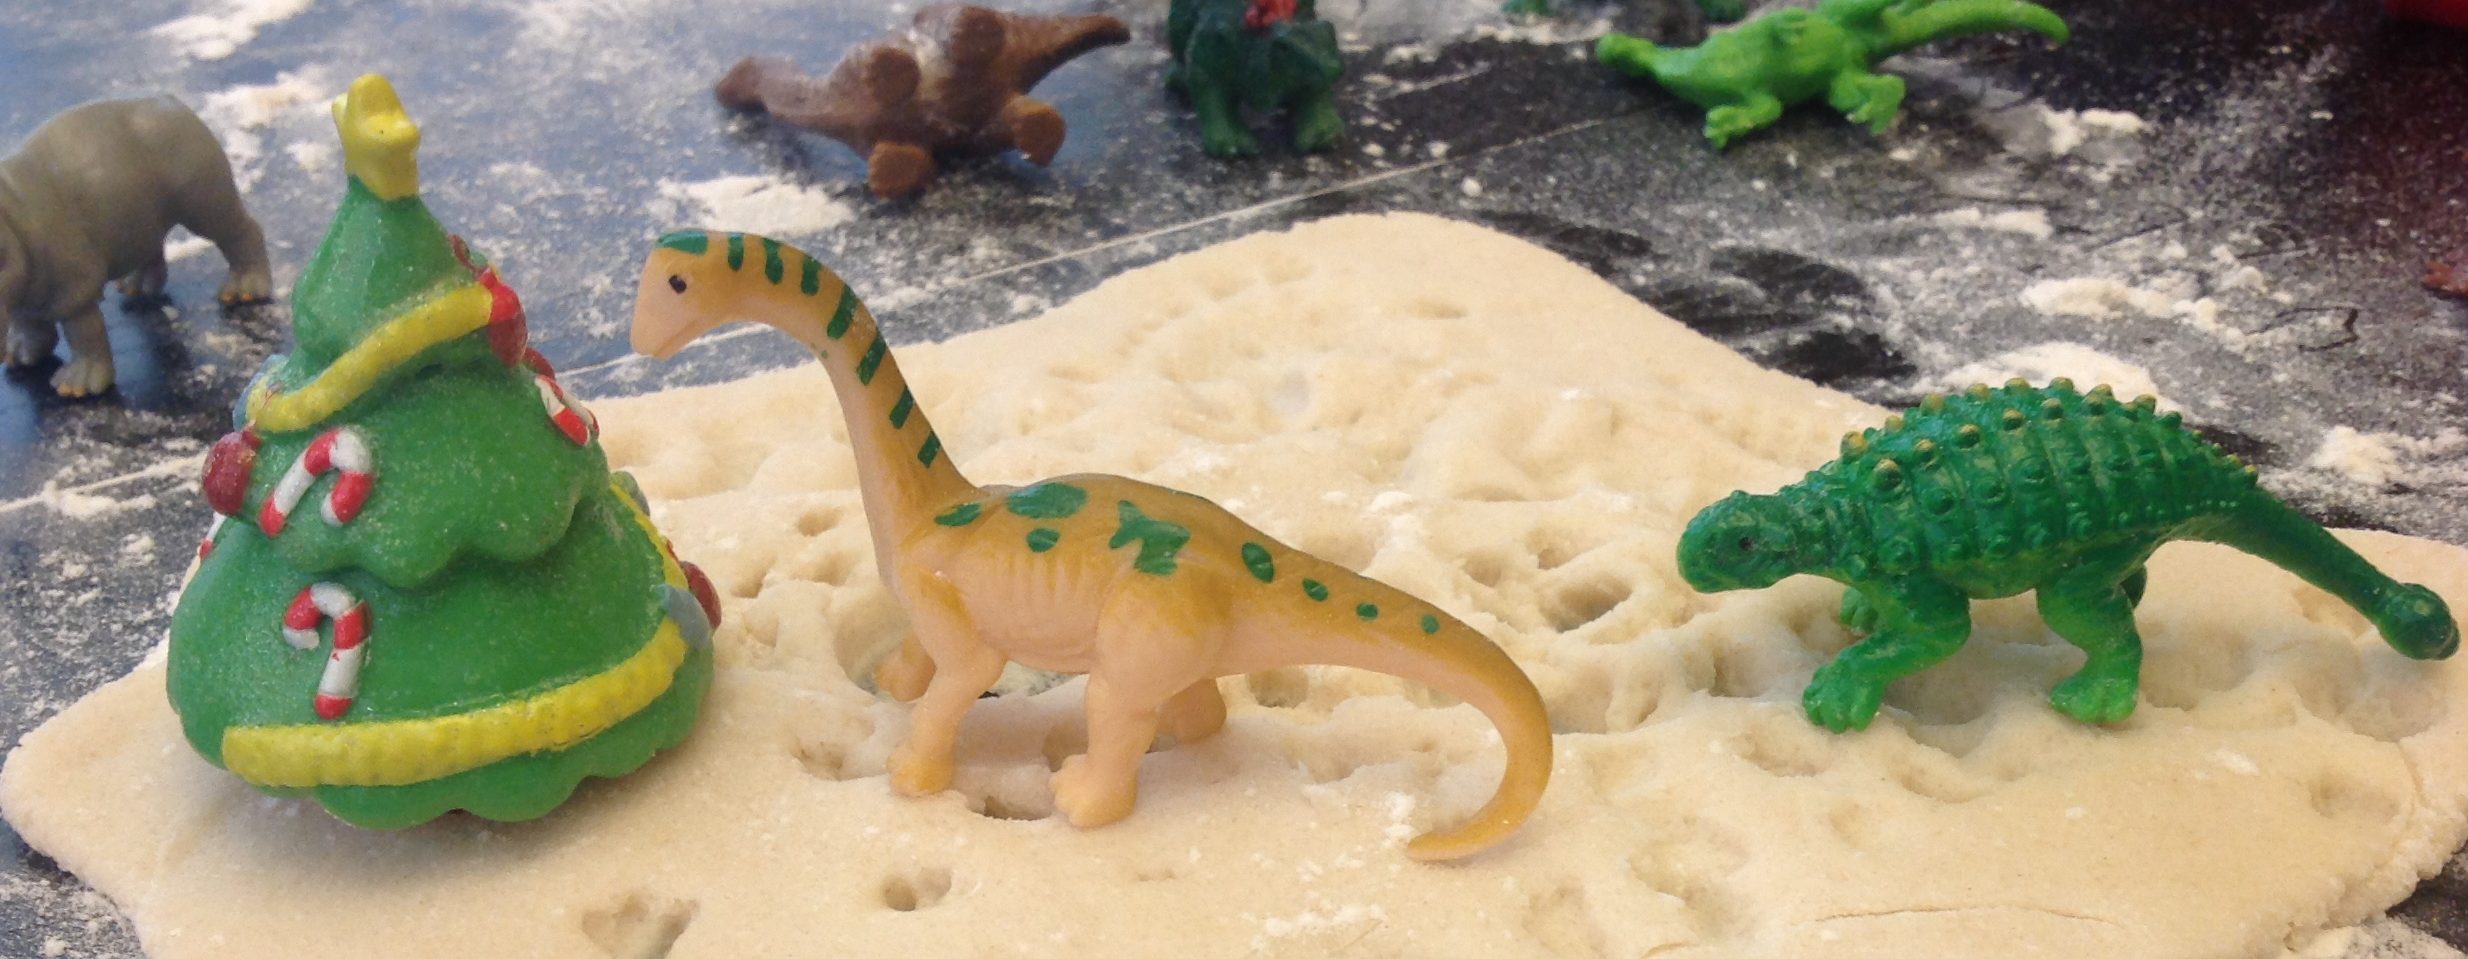
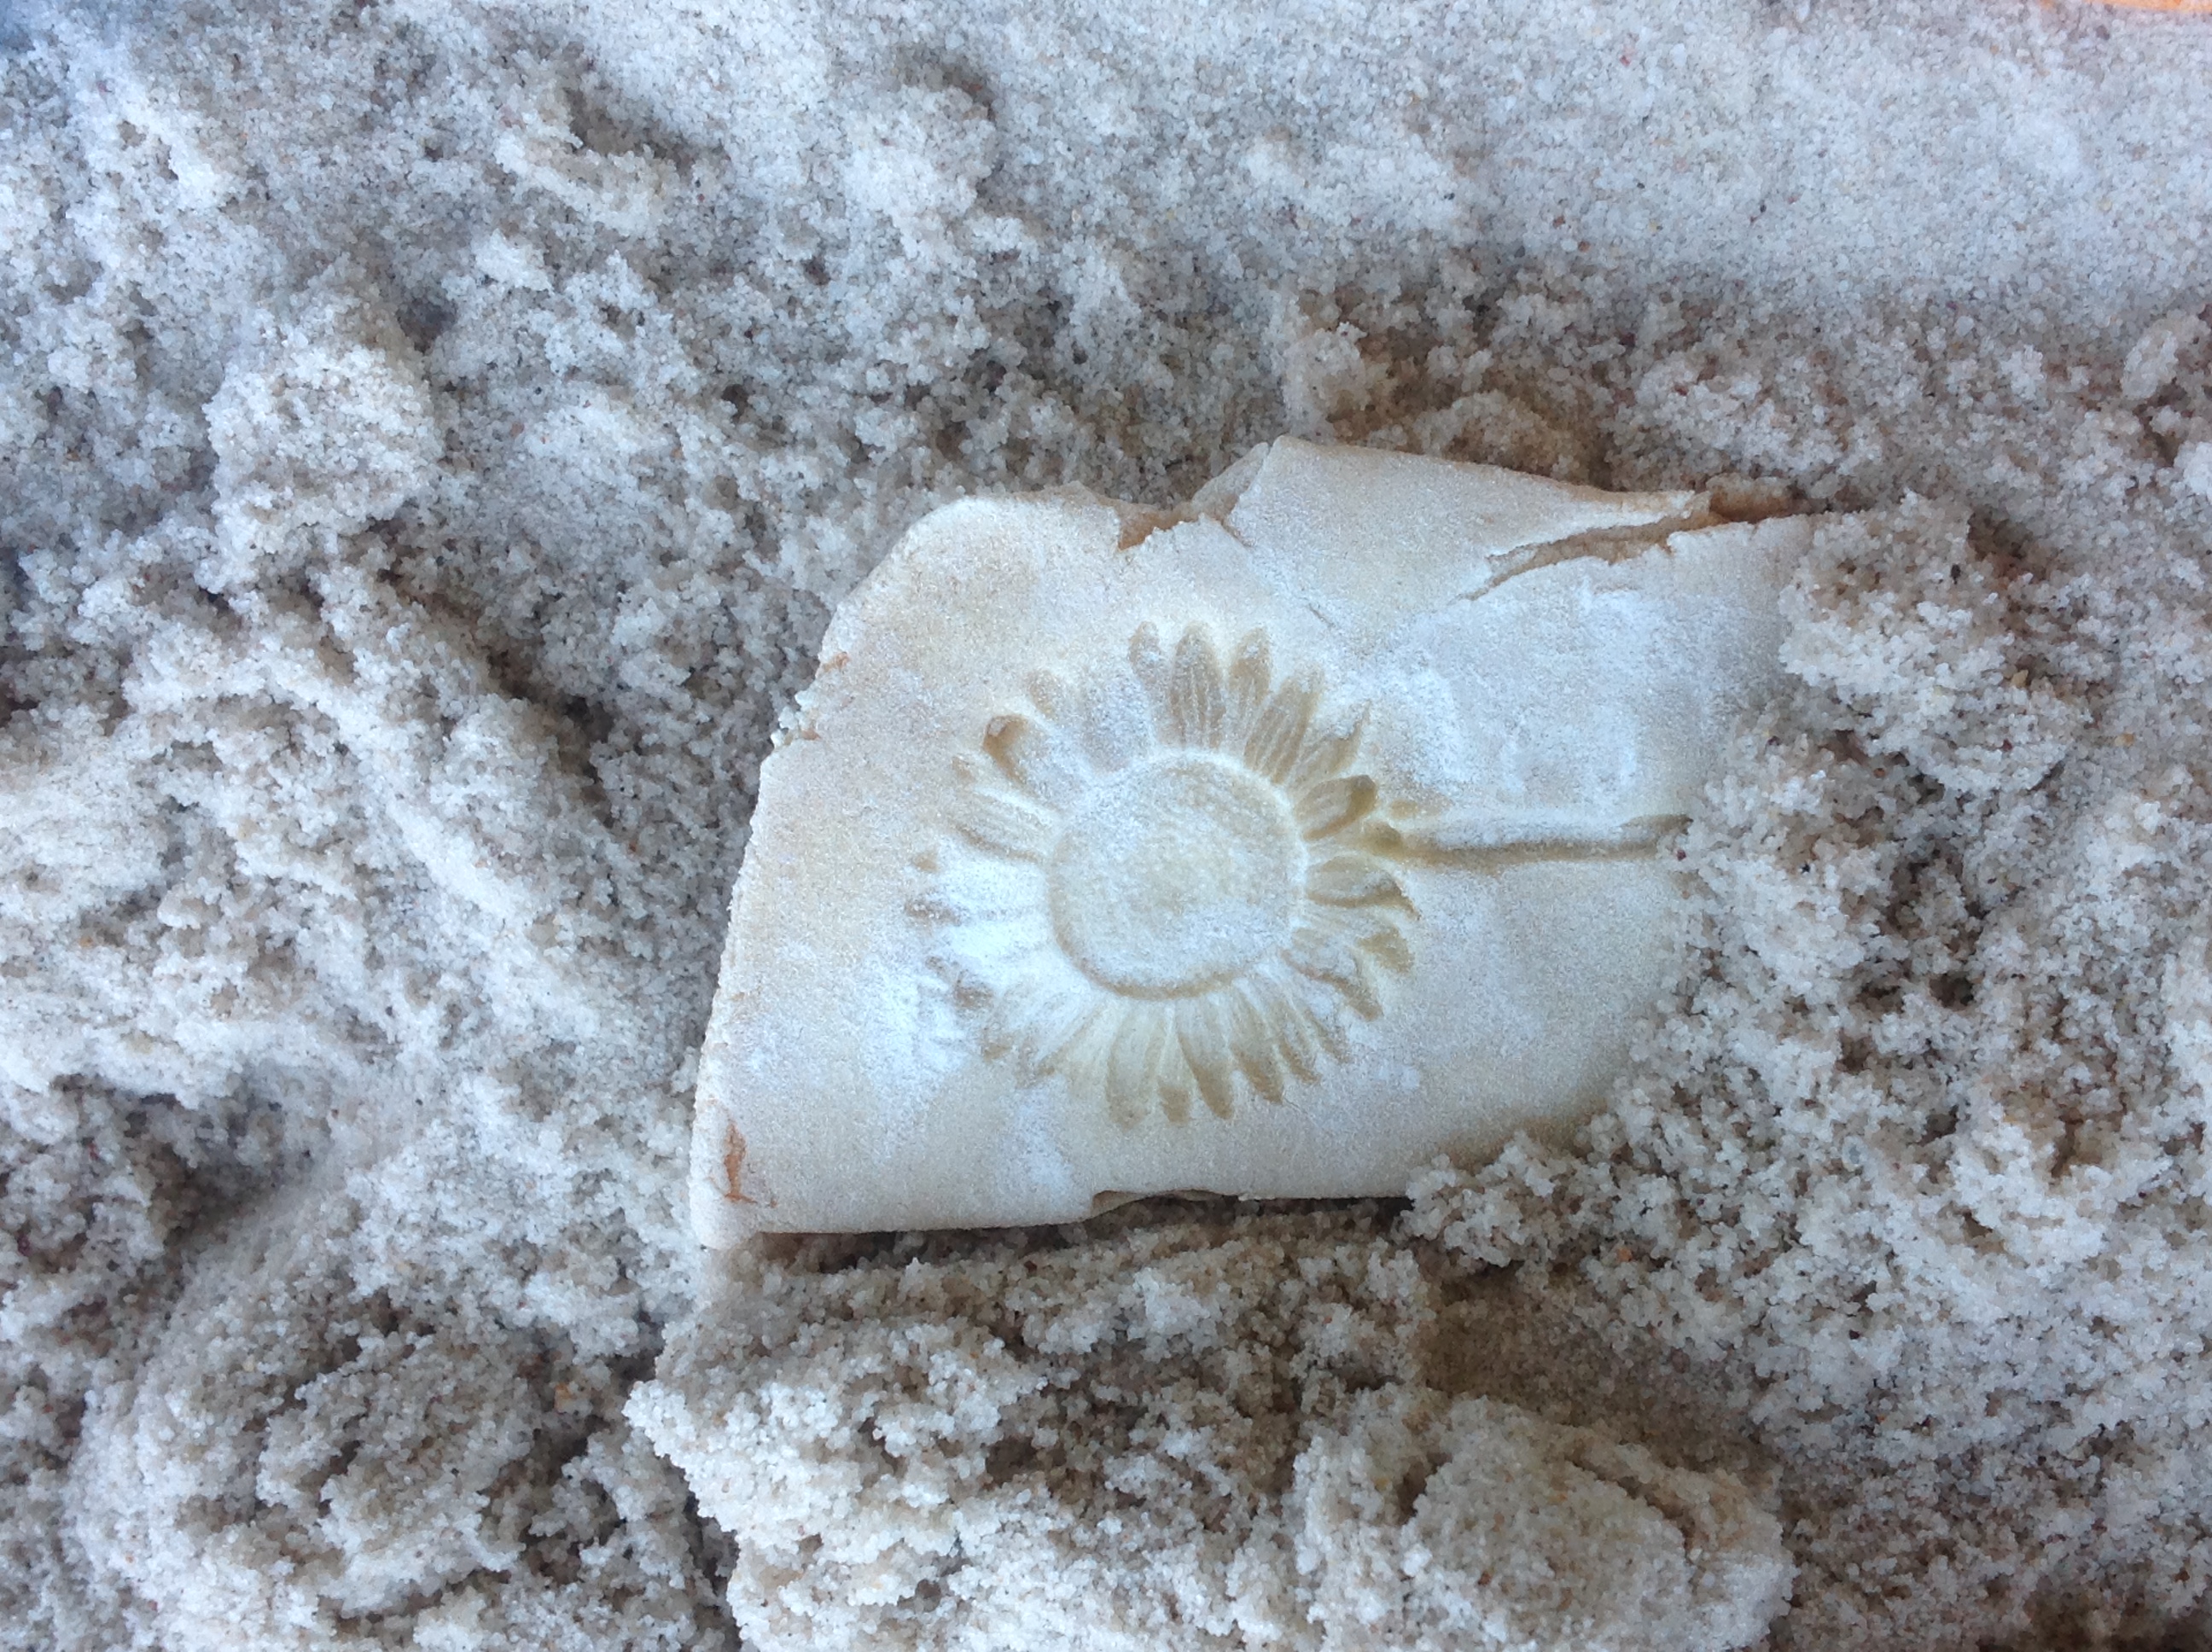
We also did some plants. I made one in dedication to my favorite ice cream flavor, though it is not quite Moose “Tracks”:
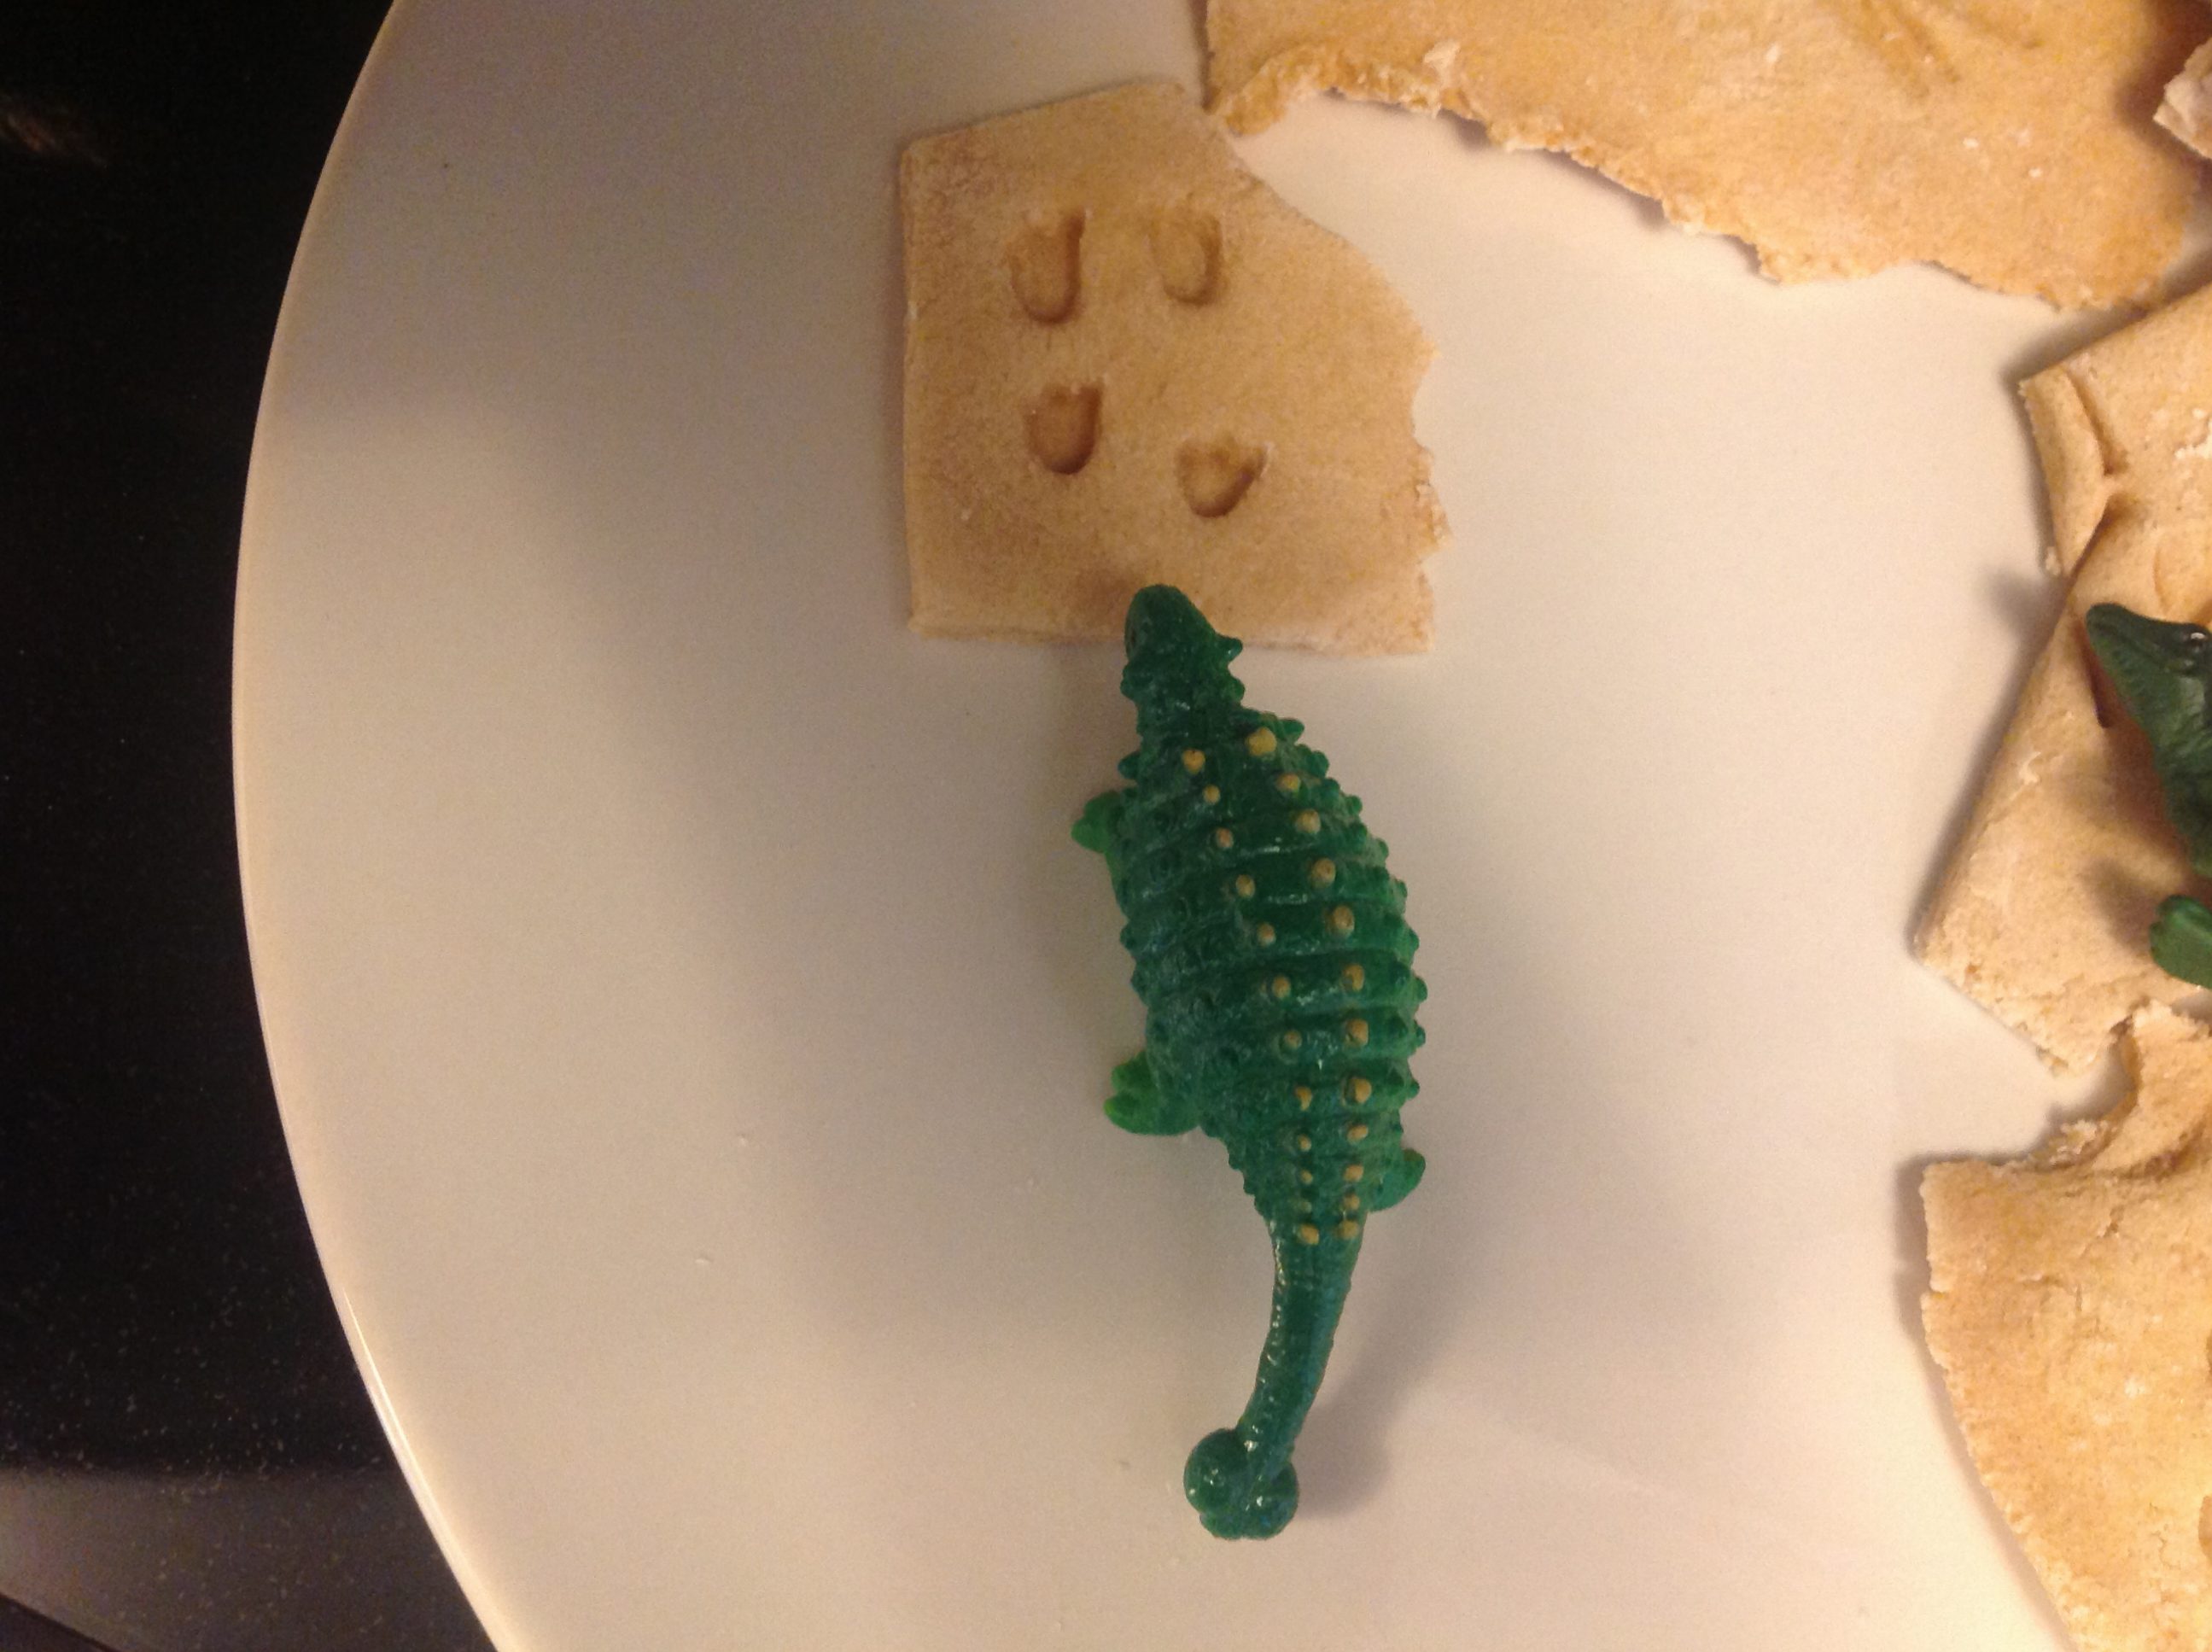
My son had the idea to make tracks:
If you want a lesson on delayed gratification, ask your preschooler to wait almost 2 hours for his or her dinosaur fossils to be ready! I put what we made in the oven at 200 degrees F for one hour initially. I ended up putting it back in for another half hour, at 300 degrees F. I started to take them out as the fossils turned brown, but I found they did feel a bit brittle. So I started taking them out when they were just a bit soft. They will dry further overnight.
While waiting, we set up dinosaur fights, because why wouldn’t we? I showed my preschooler how the dinosaurs made tracks and one died, and perhaps had our fossils hardened, it would be a clue as to how the dinosaurs behaved.
Finally, they were done! My son absolutely loved these. We matched the dinosaur figurines to their fossils. Then my son wanted to put them in the sand box and dig for them. He noticed many things about the details of the dinosaurs as he did these activities: Some had long necks, armored plates, long tails, etc. This was hands-on, process art, notice more things about objects, hyper fun. I would recommend having some child-friendly books about dinosaurs on hand, because their interest in dinosaurs may be at a peak.


And, one of the best parts about this activity: When you are done, throw the fossils away!